SSH Mastery: Secure Remote Access and Key Management
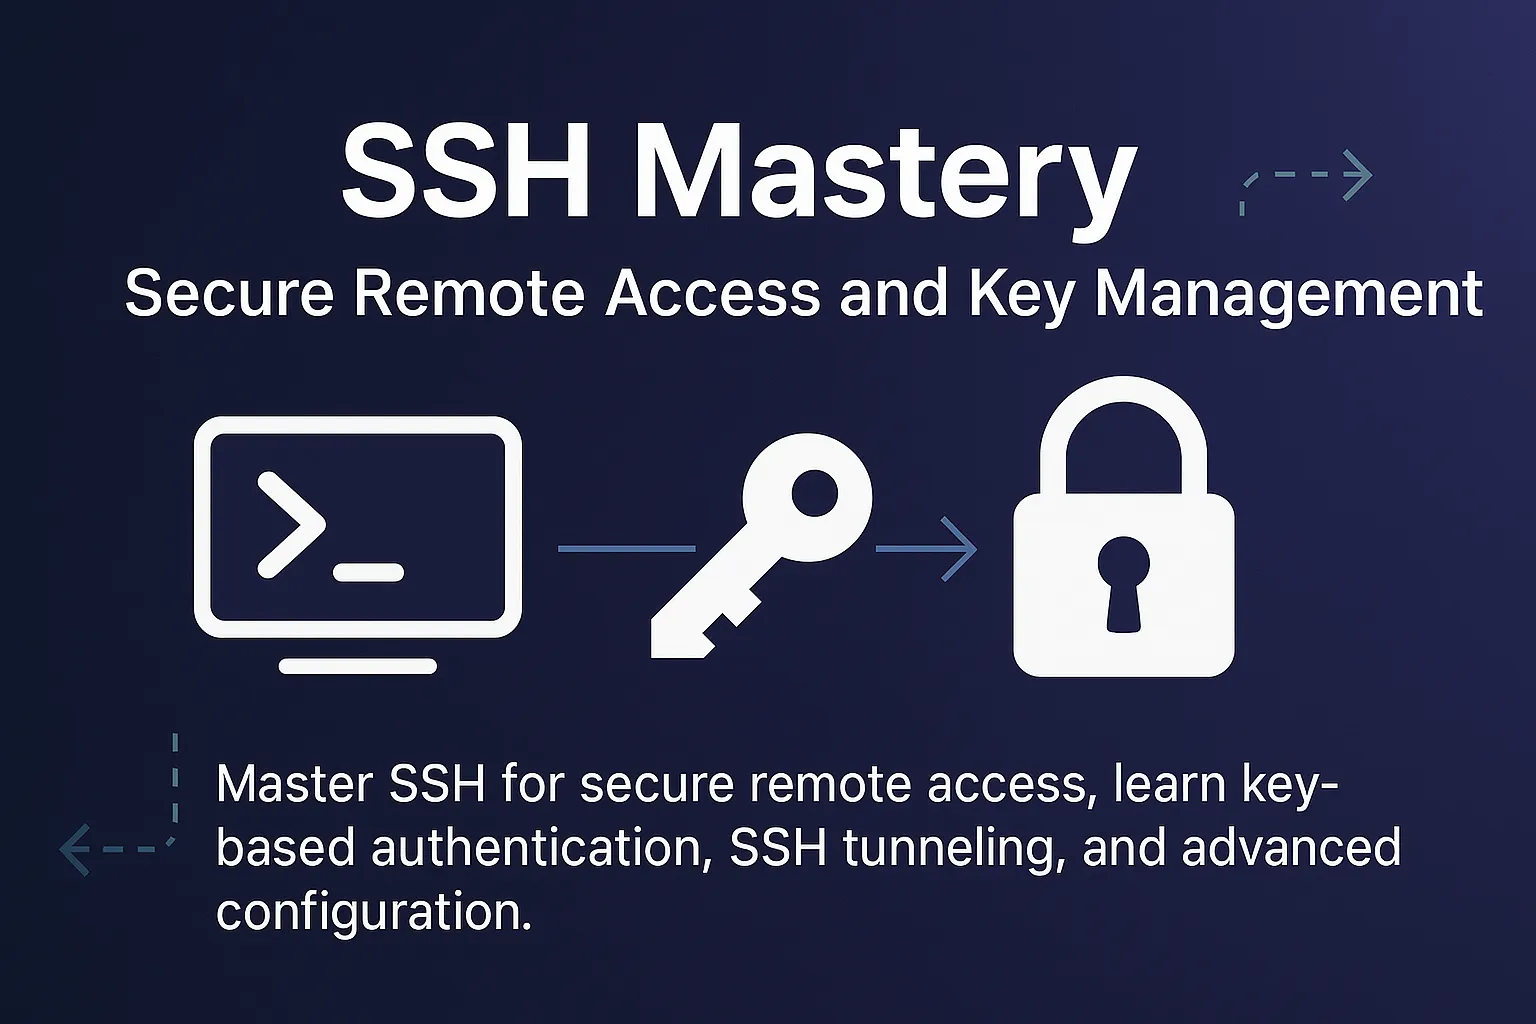
SSH Mastery: Secure Remote Access and Key Management
SSH (Secure Shell) is arguably one of the most important tools in the Linux administrator's toolkit. Whether you're managing a single server or a fleet of hundreds, SSH is your secure gateway to remote systems. I remember the first time I had to manage a server in a different country—SSH made it feel like the machine was sitting right next to me.
Over the years, I've configured SSH for everything from simple remote access to complex tunneling setups, multi-hop connections, and automated deployment systems. What started as basic ssh user@server commands evolved into sophisticated configurations that make remote system management both secure and efficient.
In this comprehensive guide, I'll take you from SSH basics to advanced techniques like key-based authentication, SSH tunneling, and custom configurations. By the end, you'll be able to set up secure, passwordless access to remote systems and use SSH's powerful features to solve real-world connectivity challenges.
What is SSH and Why It Matters
SSH is a cryptographic network protocol that allows you to securely connect to and control remote computers over an unsecured network. It replaced older, insecure protocols like Telnet and rsh by encrypting all communication between client and server.
Why SSH is Essential:
1. Security: All data is encrypted end-to-end 2. Authentication: Multiple authentication methods 3. Versatility: File transfer, tunneling, port forwarding 4. Ubiquity: Available on virtually every Unix-like system 5. Efficiency: Low overhead, works over slow connections
SSH Basics: Your First Connection
Installing SSH
Most Linux distributions come with SSH client pre-installed. For the server component:
# Ubuntu/Debian
sudo apt update
sudo apt install openssh-server

# CentOS/RHEL/Fedora
sudo yum install openssh-server     # CentOS 7
sudo dnf install openssh-server     # CentOS 8+/Fedora

# Arch Linux
sudo pacman -S openssh

# Start and enable SSH service
sudo systemctl start sshd
sudo systemctl enable sshd

# Check if SSH is running
sudo systemctl status sshd
Basic SSH Connection
# Basic connection syntax
ssh username@hostname

# Examples
ssh john@192.168.1.100
ssh admin@myserver.example.com
ssh user@server.local

# Specify a different port
ssh -p 2222 username@hostname

# Connect with verbose output (helpful for troubleshooting)
ssh -v username@hostname
First Connection Experience
When you connect to a server for the first time, you'll see something like this:
The authenticity of host '192.168.1.100 (192.168.1.100)' can't be established.
ECDSA key fingerprint is SHA256:nThbg6kXUpJWGl7E1IGOCspRomTxdCARLviKw6E5SY8.
Are you sure you want to continue connecting (yes/no/[fingerprint])?
This is SSH's host key verification. Type yes to accept and continue. The server's key will be stored in ~/.ssh/known_hosts.
SSH Key Authentication: The Secure Way
Password authentication is convenient but not ideal for security or automation. SSH keys provide a much more secure and convenient method.
Understanding SSH Keys
SSH uses asymmetric cryptography with a key pair:
Mermaid Diagram:
graph LR
    A[Your Computer] -->|Private Key| B[SSH Client]
    C[Remote Server] -->|Public Key| D[SSH Server]
    B -->|Encrypted Connection| D

    style A fill:#e1f5fe
    style C fill:#f3e5f5
    style B fill:#e8f5e8
    style D fill:#e8f5e8
Generating SSH Key Pairs
# Generate a new SSH key pair (RSA, 4096 bits)
ssh-keygen -t rsa -b 4096 -C "your.email@example.com"

# Generate with Ed25519 (newer, more secure)
ssh-keygen -t ed25519 -C "your.email@example.com"

# Generate with custom filename
ssh-keygen -t ed25519 -f ~/.ssh/id_myserver -C "myserver key"
Key generation process:
Generating public/private ed25519 key pair.
Enter file in which to save the key (/home/user/.ssh/id_ed25519):
Enter passphrase (empty for no passphrase):
Enter same passphrase again:
Your identification has been saved in /home/user/.ssh/id_ed25519
Your public key has been saved in /home/user/.ssh/id_ed25519.pub
Understanding the Generated Files
# List your SSH keys
ls -la ~/.ssh/

# Your key files:
id_ed25519      # Private key (keep this secret!)
id_ed25519.pub  # Public key (safe to share)
known_hosts     # Server fingerprints you've accepted
config          # SSH client configuration (we'll create this)
Copying Your Public Key to Servers
Method 1: Using ssh-copy-id (Easiest)
# Copy your default public key
ssh-copy-id username@hostname

# Copy a specific key
ssh-copy-id -i ~/.ssh/id_myserver.pub username@hostname

# Copy to a server on different port
ssh-copy-id -p 2222 username@hostname
Method 2: Manual Copy
# Display your public key
cat ~/.ssh/id_ed25519.pub

# SSH to the server and add the key manually
ssh username@hostname
mkdir -p ~/.ssh
echo "your-public-key-content-here" >> ~/.ssh/authorized_keys
chmod 600 ~/.ssh/authorized_keys
chmod 700 ~/.ssh
exit
Method 3: One-liner (Advanced)
cat ~/.ssh/id_ed25519.pub | ssh username@hostname "mkdir -p ~/.ssh && cat >> ~/.ssh/authorized_keys"Testing Key-Based Authentication
# Test your key-based connection
ssh username@hostname

# If successful, you should connect without entering a password
# (unless your private key has a passphrase)
SSH Configuration: Making Life Easier
The SSH client configuration file (~/.ssh/config) lets you create shortcuts and customize connection behavior.
Creating SSH Config File
# Create the config file
touch ~/.ssh/config
chmod 600 ~/.ssh/config
nano ~/.ssh/config
Basic Configuration Examples
# ~/.ssh/config

# Simple host alias
Host myserver
    HostName 192.168.1.100
    User admin
    Port 22

# Server with custom key
Host production
    HostName prod.example.com
    User deploy
    IdentityFile ~/.ssh/id_production
    Port 2222

# Development server with specific settings
Host dev
    HostName dev.example.com
    User developer
    IdentityFile ~/.ssh/id_dev
    ForwardAgent yes
    ForwardX11 yes

# Bastion/Jump host configuration
Host bastion
    HostName bastion.example.com
    User admin
    IdentityFile ~/.ssh/id_bastion

Host internal-server
    HostName 10.0.1.100
    User admin
    ProxyJump bastion
    IdentityFile ~/.ssh/id_internal
Using Your Configuration
# Now you can use simple aliases
ssh myserver        # Instead of: ssh admin@192.168.1.100
ssh production      # Instead of: ssh -p 2222 deploy@prod.example.com
ssh dev             # Connects with all specified settings

# SSH will automatically use the right key, port, and username
Advanced Configuration Options
# ~/.ssh/config - Advanced example

Host *
    # Apply to all hosts
    ServerAliveInterval 60
    ServerAliveCountMax 3
    TCPKeepAlive yes
    Compression yes

Host work-*
    # Pattern matching for work servers
    User admin
    IdentityFile ~/.ssh/id_work
    StrictHostKeyChecking yes

Host home-*
    # Pattern for home servers
    User pi
    IdentityFile ~/.ssh/id_home
    Port 2222

Host backup-server
    HostName backup.home.local
    User backup
    IdentityFile ~/.ssh/id_backup
    # Only allow key authentication
    PasswordAuthentication no
    # Keep connection alive
    ServerAliveInterval 30
    # Reuse connections
    ControlMaster auto
    ControlPath ~/.ssh/control-%r@%h:%p
    ControlPersist 10m
SSH Security Best Practices
Server-Side Security Configuration
Edit the SSH server configuration:
# Edit SSH server config
sudo nano /etc/ssh/sshd_config
Recommended security settings:
# /etc/ssh/sshd_config

# Change default port (security through obscurity)
Port 2222

# Protocol version
Protocol 2

# Disable root login
PermitRootLogin no

# Disable password authentication (use keys only)
PasswordAuthentication no
PubkeyAuthentication yes
AuthorizedKeysFile .ssh/authorized_keys

# Limit login attempts
MaxAuthTries 3
MaxStartups 3

# Disable empty passwords
PermitEmptyPasswords no

# Disable X11 forwarding (unless needed)
X11Forwarding no

# Allow only specific users
AllowUsers admin deploy

# Or allow only specific groups
AllowGroups ssh-users

# Disable unused authentication methods
ChallengeResponseAuthentication no
KerberosAuthentication no
GSSAPIAuthentication no

# Log more details
LogLevel VERBOSE

# Client timeout
ClientAliveInterval 300
ClientAliveCountMax 2
Apply the changes:
# Test configuration
sudo sshd -t

# If test passes, restart SSH service
sudo systemctl restart sshd

# Check service status
sudo systemctl status sshd
Client-Side Security
# ~/.ssh/config - Security settings

Host *
    # Disable insecure features
    ForwardX11 no
    ForwardAgent no

    # Use only secure algorithms
    KexAlgorithms curve25519-sha256@libssh.org,diffie-hellman-group16-sha512
    Ciphers chacha20-poly1305@openssh.com,aes256-gcm@openssh.com
    MACs hmac-sha2-256-etm@openssh.com,hmac-sha2-512-etm@openssh.com

    # Strict host key checking
    StrictHostKeyChecking ask

    # Hash known hosts for privacy
    HashKnownHosts yes
SSH Tunneling and Port Forwarding
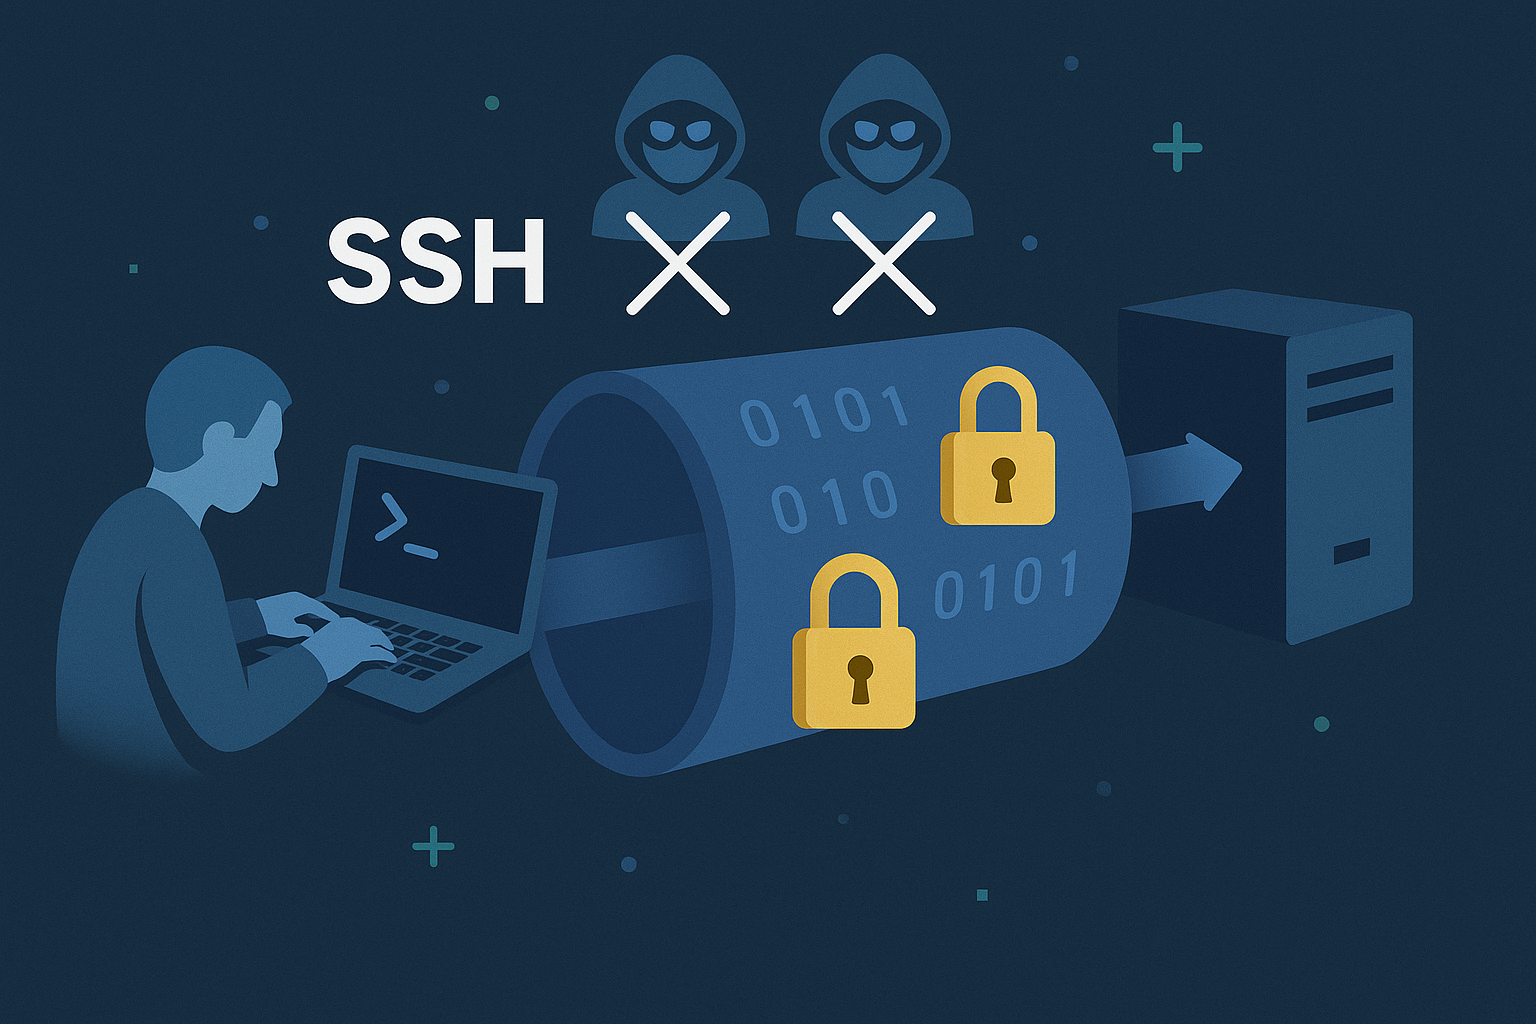
SSH can create secure tunnels for various purposes. This is incredibly useful for accessing services behind firewalls or encrypting normally insecure connections.
Local Port Forwarding
Forward a local port to a remote service.
Mermaid Diagram:
graph LR
    A[Your Computer<br/>localhost:8080] -->|SSH Tunnel| B[SSH Server<br/>remote.com]
    B -->|Local Connection| C[Database<br/>localhost:3306]

    style A fill:#e1f5fe
    style B fill:#fff3e0
style C fill:#f3e5f5# Basic local port forwarding
ssh -L local_port:destination_host:destination_port username@ssh_server
# Examples:
# Forward local port 8080 to remote web server
ssh -L 8080:localhost:80 user@webserver.com
# Now: http://localhost:8080 -> webserver.com:80
# Access remote database securely
ssh -L 3306:localhost:3306 user@database-server.com
# Now: mysql -h localhost -P 3306 connects to remote DB
# Forward to different host through SSH server
ssh -L 5432:database.internal:5432 user@bastion-server.com
# Access internal database through bastion host
# Run in background
ssh -f -N -L 8080:localhost:80 user@server.comRemote Port Forwarding (Reverse Tunnels)
Make a service on your local machine accessible from the remote server.
# Basic remote port forwarding
ssh -R remote_port:local_host:local_port username@ssh_server

# Examples:

# Share your local web server
ssh -R 8080:localhost:3000 user@public-server.com
# Now: public-server.com:8080 -> your localhost:3000

# Give remote access to your local service
ssh -R 9999:localhost:22 user@remote-server.com
# Remote server can SSH back to you via localhost:9999

# Permanent reverse tunnel (useful for NAT traversal)
ssh -f -N -R 2222:localhost:22 user@public-server.com
Dynamic Port Forwarding (SOCKS Proxy)
Create a SOCKS proxy for routing traffic through the SSH server.
# Create SOCKS proxy on local port 1080
ssh -D 1080 user@proxy-server.com

# Use with applications
# Configure browser to use SOCKS proxy: localhost:1080
# Or use with curl:
curl --socks5 localhost:1080 http://example.com

# Check your apparent IP address
curl --socks5 localhost:1080 https://ipinfo.io/ip
Practical Tunneling Examples
Secure Database Access
# Create SSH config entry
# ~/.ssh/config
Host db-tunnel
    HostName database-server.com
    User dbadmin
    LocalForward 3306 localhost:3306
    ServerAliveInterval 30

# Connect with tunnel
ssh db-tunnel

# In another terminal, connect to database
mysql -h localhost -P 3306 -u username -p
Persistent Reverse Tunnel
#!/bin/bash
# reverse-tunnel.sh - Keep reverse tunnel alive

REMOTE_HOST="public-server.com"
REMOTE_USER="tunneluser"
REMOTE_PORT="2222"
LOCAL_PORT="22"

while true; do
    ssh -N -R ${REMOTE_PORT}:localhost:${LOCAL_PORT} ${REMOTE_USER}@${REMOTE_HOST}
    sleep 10
done
Advanced SSH Techniques
SSH Agent and Key Management
SSH Agent stores your private keys in memory, so you don't need to enter passphrases repeatedly.
# Start SSH agent
eval $(ssh-agent)

# Add your key to agent
ssh-add ~/.ssh/id_ed25519
ssh-add ~/.ssh/id_rsa

# List loaded keys
ssh-add -l

# Remove specific key
ssh-add -d ~/.ssh/id_ed25519

# Remove all keys
ssh-add -D

# Add key with timeout (1 hour)
ssh-add -t 3600 ~/.ssh/id_ed25519
Auto-start SSH Agent
Add to your ~/.bashrc or ~/.zshrc:
# Auto-start SSH agent
if [ -z "$SSH_AUTH_SOCK" ]; then
    eval $(ssh-agent -s)
    ssh-add ~/.ssh/id_ed25519
fi
SSH Agent Forwarding
Forward your SSH agent to remote servers, allowing you to use your local keys on remote machines.
# Enable agent forwarding for a connection
ssh -A user@server.com

# Or configure in ~/.ssh/config
Host development-server
    HostName dev.example.com
    User developer
    ForwardAgent yes

# Now you can SSH from the remote server using your local keys
# This is useful for git operations on remote servers
Security Warning: Only use agent forwarding with servers you trust completely.
Multi-hop SSH Connections
Connect through multiple servers (jump hosts).
# Method 1: ProxyJump (modern way)
ssh -J jump-host.com user@final-destination.com

# Method 2: Configuration file
# ~/.ssh/config
Host final-server
    HostName 10.0.1.100
    User admin
    ProxyJump bastion.example.com

# Method 3: Multiple jumps
ssh -J jump1.com,jump2.com user@final.com

# Method 4: Old-style proxy command
Host internal-server
    HostName 192.168.1.100
    User admin
    ProxyCommand ssh bastion.com nc %h %p
File Transfer with SSH
SCP (Secure Copy)
# Copy file to remote server
scp localfile.txt user@server.com:/remote/path/

# Copy file from remote server
scp user@server.com:/remote/file.txt ./local/path/

# Copy directory recursively
scp -r local-directory/ user@server.com:/remote/path/

# Copy with specific SSH key
scp -i ~/.ssh/id_server localfile.txt user@server.com:~/

# Copy through jump host
scp -o ProxyJump=bastion.com localfile.txt user@internal.com:~/
SFTP (SSH File Transfer Protocol)
# Start SFTP session
sftp user@server.com

# SFTP commands:
ls                  # List remote files
lls                 # List local files
cd /remote/path     # Change remote directory
lcd /local/path     # Change local directory
put localfile.txt   # Upload file
get remotefile.txt  # Download file
mkdir newdir        # Create remote directory
rm filename         # Delete remote file
exit                # Exit SFTP
rsync over SSH
# Sync directories
rsync -av --progress local-dir/ user@server.com:/remote/dir/

# Sync with specific SSH key
rsync -av -e "ssh -i ~/.ssh/id_server" local-dir/ user@server.com:~/

# Sync through jump host
rsync -av -e "ssh -J bastion.com" local-dir/ user@internal.com:~/

# Backup with exclusions
rsync -av --progress --exclude '*.log' --exclude 'temp/' \
  /home/user/important/ user@backup-server.com:/backups/
SSH Troubleshooting
Common Issues and Solutions
Connection Refused
# Check if SSH service is running
sudo systemctl status sshd

# Check if SSH is listening on expected port
sudo netstat -tlnp | grep :22

# Check firewall
sudo ufw status
sudo iptables -L

# Test connectivity
telnet hostname 22
nc -zv hostname 22
Permission Denied (Authentication Failed)
# Check SSH key permissions
ls -la ~/.ssh/
chmod 700 ~/.ssh
chmod 600 ~/.ssh/id_ed25519
chmod 644 ~/.ssh/id_ed25519.pub

# Check authorized_keys on server
ls -la ~/.ssh/authorized_keys
chmod 600 ~/.ssh/authorized_keys

# Debug with verbose output
ssh -vvv user@hostname

# Test different authentication methods
ssh -o PreferredAuthentications=password user@hostname
ssh -o PreferredAuthentications=publickey user@hostname
Host Key Verification Failed
# Remove old host key
ssh-keygen -R hostname

# Or edit known_hosts manually
nano ~/.ssh/known_hosts

# Connect with strict host key checking disabled (temporary)
ssh -o StrictHostKeyChecking=no user@hostname
SSH Hanging or Slow
# Check DNS resolution
nslookup hostname

# Disable DNS lookup on server
# Add to /etc/ssh/sshd_config: UseDNS no

# Check for network issues
ping hostname
traceroute hostname

# Use compression for slow connections
ssh -C user@hostname
Debug Mode and Logging
# Client-side debugging
ssh -v user@hostname     # Basic verbose
ssh -vv user@hostname    # More verbose
ssh -vvv user@hostname   # Maximum verbose

# Server-side debugging
# Edit /etc/ssh/sshd_config
LogLevel DEBUG3

# Check server logs
sudo tail -f /var/log/auth.log
sudo journalctl -u ssh -f
Automation and Scripting with SSH
SSH in Scripts
#!/bin/bash
# deploy.sh - Simple deployment script

SERVER="production.example.com"
USER="deploy"
APP_DIR="/var/www/myapp"

# Upload new code
rsync -av --delete ./build/ ${USER}@${SERVER}:${APP_DIR}/

# Restart services
ssh ${USER}@${SERVER} "sudo systemctl restart nginx && sudo systemctl restart myapp"

# Check status
ssh ${USER}@${SERVER} "sudo systemctl status myapp"
Batch Operations
#!/bin/bash
# update-servers.sh - Update multiple servers

SERVERS=("web1.com" "web2.com" "web3.com")
USER="admin"

for server in "${SERVERS[@]}"; do
    echo "Updating $server..."
    ssh ${USER}@${server} "sudo apt update && sudo apt upgrade -y"
done
SSH with Ansible
# inventory.yml
all:
  hosts:
    web1.example.com:
    web2.example.com:
    db1.example.com:
  vars:
    ansible_user: admin
    ansible_ssh_private_key_file: ~/.ssh/id_ed25519
SSH Monitoring and Security
Monitoring SSH Access
# Check SSH login attempts
sudo grep "sshd" /var/log/auth.log | tail -20

# Failed login attempts
sudo grep "Failed password" /var/log/auth.log

# Successful logins
sudo grep "Accepted password\|Accepted publickey" /var/log/auth.log

# Current SSH sessions
who
w
Fail2Ban for SSH Protection
# Install fail2ban
sudo apt install fail2ban

# Configure SSH jail
sudo nano /etc/fail2ban/jail.local

[sshd]
enabled = true
port = 22
filter = sshd
logpath = /var/log/auth.log
maxretry = 3
bantime = 600
findtime = 600

# Start fail2ban
sudo systemctl start fail2ban
sudo systemctl enable fail2ban

# Check status
sudo fail2ban-client status sshd
SSH Audit Script
#!/bin/bash
# ssh-audit.sh - SSH security audit

echo "=== SSH Security Audit ==="

# Check SSH configuration
echo "SSH Configuration Issues:"
sudo sshd -T | grep -E "passwordauthentication|permitrootlogin|protocol"

# Check for weak keys
echo -e "\nWeak SSH Keys:"
find ~/.ssh -name "id_rsa" -exec ssh-keygen -l -f {} \; | awk '$1 < 2048 {print "Weak key:", $0}'

# Check authorized keys
echo -e "\nAuthorized Keys:"
find /home -name "authorized_keys" 2>/dev/null | while read file; do
    echo "File: $file"
    wc -l "$file"
done

# Recent SSH activity
echo -e "\nRecent SSH Activity:"
sudo grep "sshd" /var/log/auth.log | tail -10
SSH Best Practices Summary
Security Best Practices
1. Use SSH keys instead of passwords 2. Disable root login 3. Change default SSH port 4. Use strong key algorithms (Ed25519) 5. Limit user access with AllowUsers/AllowGroups 6. Enable firewall rules 7. Monitor SSH logs regularly 8. Use fail2ban for intrusion prevention 9. Regular security audits 10. Keep SSH software updated
Operational Best Practices
1. Use SSH config file for common connections 2. Implement proper key management 3. Use SSH agent for convenience 4. Set up monitoring and alerting 5. Document SSH configurations 6. Regular backup of SSH keys and configs 7. Use jump hosts for internal networks 8. Implement proper change management
Quick Reference Commands
# Key Management
ssh-keygen -t ed25519 -C "email"    # Generate key pair
ssh-copy-id user@host               # Copy public key
ssh-add ~/.ssh/id_ed25519          # Add key to agent
ssh-add -l                         # List loaded keys

# Connections
ssh user@host                      # Basic connection
ssh -p 2222 user@host             # Custom port
ssh -i ~/.ssh/key user@host       # Specific key
ssh -J jump.com user@final.com    # Jump host

# Tunneling
ssh -L 8080:localhost:80 user@host # Local forward
ssh -R 8080:localhost:3000 user@host # Remote forward
ssh -D 1080 user@host             # SOCKS proxy

# File Transfer
scp file.txt user@host:~/          # Copy file
rsync -av dir/ user@host:~/dir/    # Sync directory
sftp user@host                     # Interactive transfer

# Troubleshooting
ssh -vvv user@host                # Debug connection
ssh-keygen -R hostname            # Remove host key
systemctl status ssh              # Check SSH service
What's Next?
SSH mastery opens the door to advanced system administration topics. With secure remote access established, you're ready to explore:
- Systemd service management - Control services across multiple servers
The SSH skills you've learned here form the foundation for managing distributed systems, automated deployments, and secure infrastructure management.
Key Takeaways
- SSH is essential for secure remote system management
Master these SSH techniques, and you'll have the secure remote access foundation needed for advanced Linux system administration. Whether you're managing a single server or a complex infrastructure, SSH will be your reliable, secure gateway to remote systems.
---
🚀 Continue Your Linux Journey
This is Part 14 of our comprehensive Linux mastery series.
Previous: Network Configuration & Troubleshooting - Master networking fundamentals
Next: Service Management with systemd - Control and monitor system services
📚 Complete Linux Series Navigation
Advanced Mastery:
Ready for Service Management? Continue with systemd to master modern Linux service control!
🔗 Related Security Topics
- Firewall Security: iptables vs ufw vs firewalld
---
Ready to dive deeper into system administration? Next, we'll explore systemd—the modern Linux service management system that controls how your services start, stop, and behave across SSH-managed servers.
Related Articles
Linux Firewalls: iptables vs ufw vs firewalld - Complete Security Guide
Master Linux firewall configuration with comprehensive comparisons of iptables, ufw, and firewalld. Learn practical security setups, real-world examples, and best practices for securing your servers.
Network Configuration and Troubleshooting in Linux
Master Linux networking with ip, netstat, ss commands. Learn to configure static IPs, troubleshoot connectivity issues, and diagnose network problems like a pro.