Docker for Backend Developers: Part 2 - Getting Docker Set Up and Your First Service
Docker for Backend Developers: Part 2 - Getting Docker Set Up and Your First Service
After my Docker awakening in Part 1, I was eager to get started. But here's what I wish someone had told me: understanding Docker isn't just about learning commands—it's about shifting how you think about application runtime environments.
Let me walk you through not just the "how" but the "why" behind every step.
The Mental Model That Changed Everything
Before diving into installation, I need to share the mental shift that made Docker click for me.
Traditional Thinking: Applications Live on Servers
For years, I thought like this:
This led to the nightmare of environment differences, dependency conflicts, and "works on my machine" syndrome.
Container Thinking: Applications ARE Their Environment
Docker flipped this completely:
The profound realization: You're not running applications on a server—you're running self-contained environments that happen to contain your application.
Understanding the Docker Architecture
Before we install anything, let's understand what Docker actually is under the hood.
The Three-Layer Reality
Layer 1: Linux Kernel Features
Layer 2: Container Runtime
Layer 3: Docker Engine
Why This Matters for Backend Developers
Understanding this stack taught me why containers are so powerful:
1. Isolation without VMs: Namespaces give you process isolation without the overhead of full virtualization 2. Resource Control: Cgroups ensure your runaway Python process doesn't kill the entire server 3. Efficient Storage: Union filesystems mean you can have 100 containers sharing the same base Ubuntu image
Installing Docker: The Foundation
I learned this the hard way: how you install Docker matters. Let me show you the right way and explain why.
Why the Official Installation Method Matters
There are multiple ways to install Docker, but only one gives you the latest features, security updates, and proper integration:
# The wrong way (what I did first)
sudo apt install docker.io  # This gives you an old, community-maintained version

# The right way
curl -fsSL https://get.docker.com -o get-docker.sh
sudo sh get-docker.sh
The get-docker.sh script handles the complexity of:
The Post-Installation Ritual
After installation, there's a crucial step most tutorials gloss over:
# Add yourself to the docker group
sudo usermod -aG docker $USER

# Log out and back in (or run this)
newgrp docker

# Test it works without sudo
docker run hello-world
Why this matters: Without this, you'll need sudo for every Docker command. Not only is this annoying, but it can cause permission issues with volumes and file ownership.
Your First Container: Understanding the Process
Let's run your first container, but I want you to understand what's happening at each step.
The Hello World Moment
docker run hello-worldHere's what just happened (the magic I wish someone had explained):
1. Image Resolution: Docker looks for hello-world:latest locally
2. Registry Pull: Not found locally, so it downloads from Docker Hub
3. Container Creation: Creates a new container from the image
4. Namespace Setup: Allocates process, network, and filesystem namespaces
5. Process Execution: Runs the default command inside the isolated environment
6. Cleanup: Container exits and stops (but isn't deleted)
The Layers Revealed
Let's examine what we just downloaded:
docker images hello-world
docker history hello-world
You'll see the hello-world image is tiny (less than 20KB) and consists of just a few layers. This illustrates Docker's layered filesystem concept—each instruction in a Dockerfile creates a new layer.
Building Your First Backend Service Container
Now let's containerize a real backend service and understand the theory behind each step.
The Service: A Simple HTTP Health Check
// main.go
package main

import (
    "encoding/json"
    "net/http"
    "os"
    "time"
)

type HealthResponse struct {
    Status    string    `json:"status"`
    Timestamp time.Time `json:"timestamp"`
    Hostname  string    `json:"hostname"`
}

func healthHandler(w http.ResponseWriter, r *http.Request) {
    hostname, _ := os.Hostname()

    response := HealthResponse{
        Status:    "healthy",
        Timestamp: time.Now(),
        Hostname:  hostname,
    }

    w.Header().Set("Content-Type", "application/json")
    json.NewEncoder(w).Encode(response)
}

func main() {
    http.HandleFunc("/health", healthHandler)
    http.ListenAndServe(":8080", nil)
}
The Dockerfile: Your Environment Definition
# Start with a base environment
FROM golang:1.21-alpine

# Set working directory
WORKDIR /app

# Copy source code
COPY . .

# Build the application
RUN go build -o main .

# Define the default command
CMD ["./main"]
Understanding Each Dockerfile Instruction
Let me explain the theory behind each line:
FROM golang:1.21-alpine
WORKDIR /app
cd /app but permanent for all subsequent commandsCOPY . .
/app in containerRUN go build -o main .
CMD ["./main"]
Building and Understanding the Result
# Build the image
docker build -t my-health-service .

# Examine what we created
docker images my-health-service
docker history my-health-service
The docker history command shows you each layer and its size. This teaches you about image optimization—which layers are taking up space and why.
Running and Examining Your Service
# Run the container
docker run -p 8080:8080 my-health-service

# In another terminal, test it
curl http://localhost:8080/health
The port mapping theory: -p 8080:8080 creates a mapping from host port 8080 to container port 8080. The container has its own network namespace, so without this mapping, you couldn't reach the service.
Container Lifecycle: Understanding State
One concept that confused me initially was container lifecycle. Let me clarify:
Container States
Created: Container exists but isn't running Running: Container is actively executing Paused: Container is paused (rare in practice) Stopped: Container finished executing Deleted: Container removed from system
Working with Container State
# Run container in background
docker run -d -p 8080:8080 --name health-service my-health-service
# Check running containers
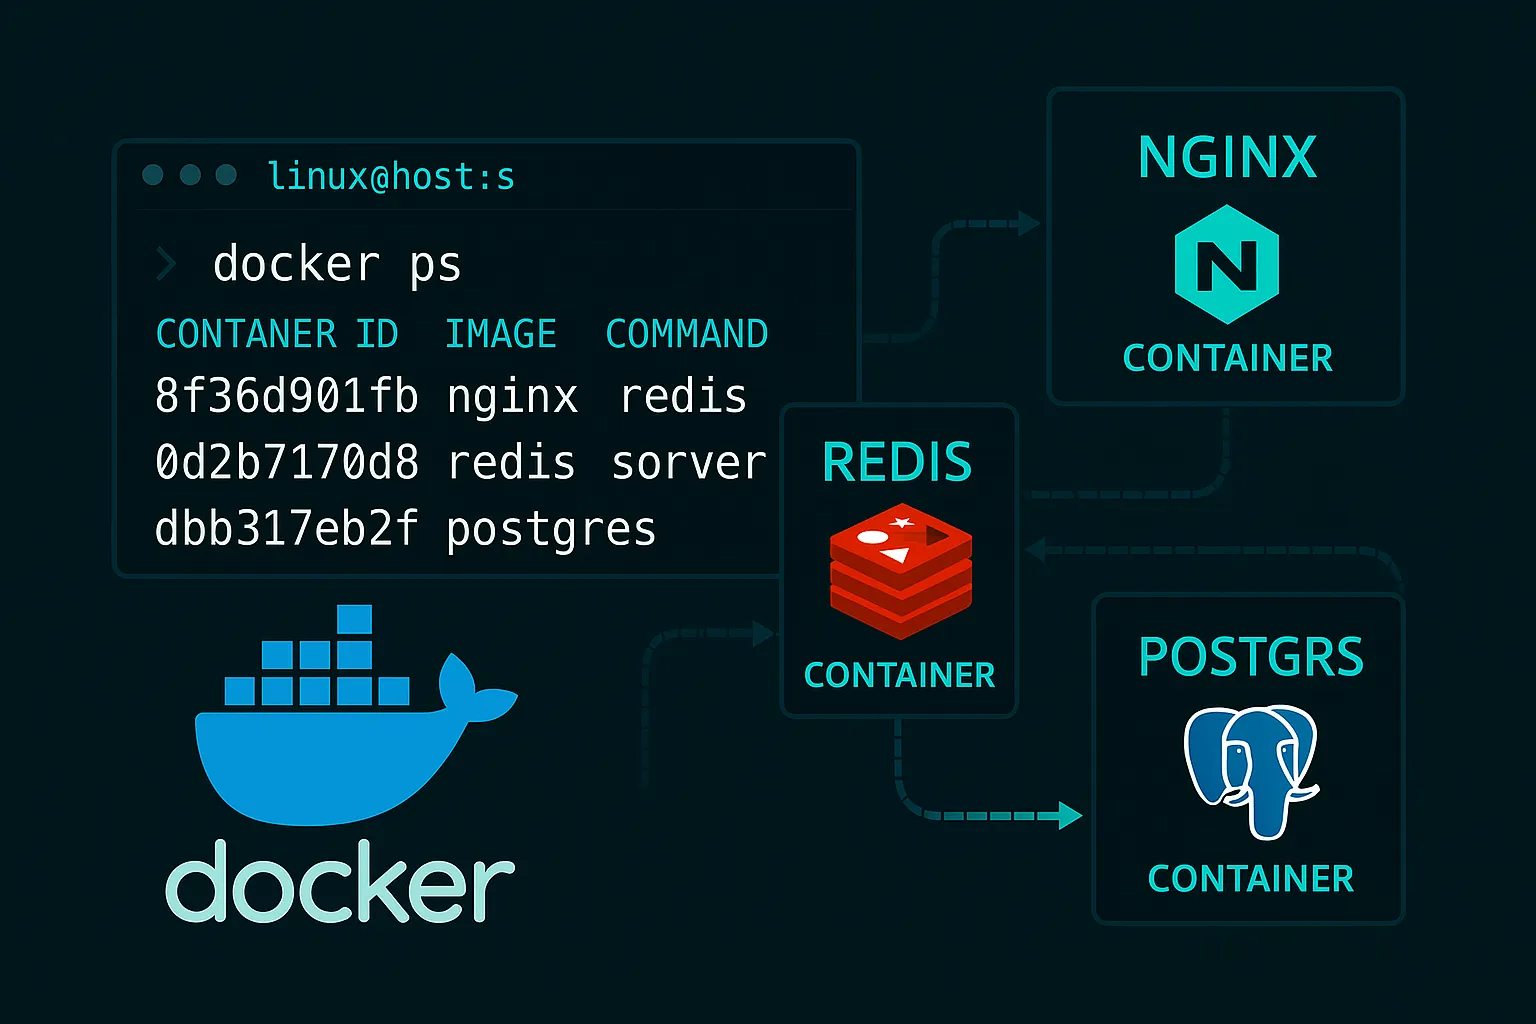
docker ps
# Check all containers (including stopped)
docker ps -a
# Stop the container
docker stop health-service
# Start it again
docker start health-service
# Remove the container
docker rm health-serviceKey insight: Images are templates, containers are instances. You can create multiple containers from the same image.
The Development Workflow Revolution
Here's where Docker fundamentally changed my development process:
Before Docker
1. Install language runtime on my machine 2. Install dependencies globally or in virtual environments 3. Configure database connections 4. Hope production environment matches
After Docker
1. Define environment in Dockerfile 2. Build container image 3. Run container anywhere 4. Production environment IS the container
Volume Mounting: The Development Bridge
For active development, you don't want to rebuild the container every time you change code:
# Mount your source directory into the container
docker run -p 8080:8080 -v $(pwd):/app my-health-service
The theory: This creates a bind mount between your host directory and the container's /app directory. Changes to files on your host immediately appear in the container.
Environment Variables: Configuration Theory
Backend services need configuration, and containers handle this through environment variables:
# Run with custom configuration
docker run -p 8080:8080 -e LOG_LEVEL=debug my-health-service
Why environment variables: They follow the Twelve-Factor App principle of configuration through environment. This enables the same container image to work in development, staging, and production with different configurations.
The Container Mindset Shift
After building your first container, you should feel a fundamental shift in thinking:
Old mindset: "I need to install Go on this server to run my application" New mindset: "I need to run my Go application container on this server"
This shift is profound because:
What You've Learned
You now understand:
More importantly, you've experienced the mindset shift from "applications on servers" to "applications as environments."
Next Steps
You might be thinking: "This is great for a single service, but what about real applications with databases, caches, and multiple services?"
That's exactly what Part 3 covers—building production-ready containers that handle real-world complexity.
---
Ready to build containers that can handle production workloads? Part 3 covers production-ready container design.